Aperture Sharpness
The FoCal Aperture Sharpness test allows you to see how the sharpness of your lens changes across the aperture.
Opening the Aperture Sharpness Test
From the main window, choose Analysis > Aperture Sharpness to open the test window. You’ll see a window that looks similar to this:
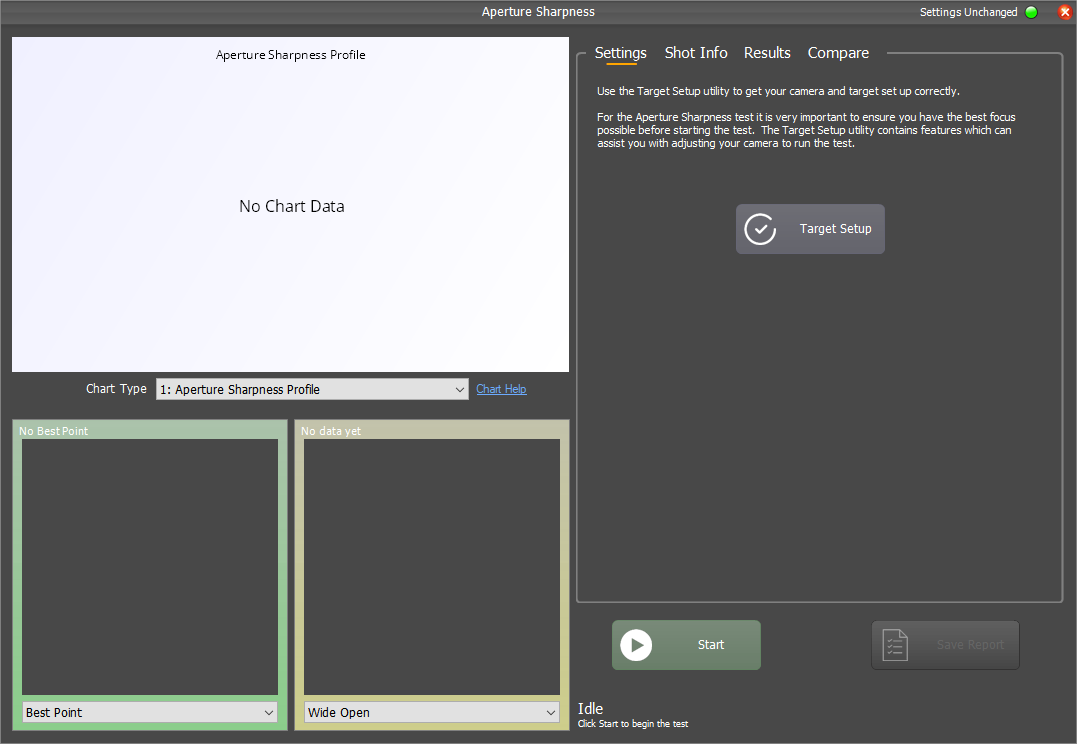
The first thing to notice is the Target Setup button. Before running a test, you need to make sure your camera and target is set up correctly and it’s even more critical with the Aperture Sharpness as you also need to ensure good focus to get accurate results. Make sure you’re familiar with the section on Aperture Sharpness Target Setup and have set the focus correctly before running the Aperture Sharpness test.
Running the Aperture Sharpness Test
After running the Target Setup to ensure everything is setup correctly and the lens is well focused (see the comment above), you are ready to run the Aperture Sharpness test.
To get going, hit the Start button.
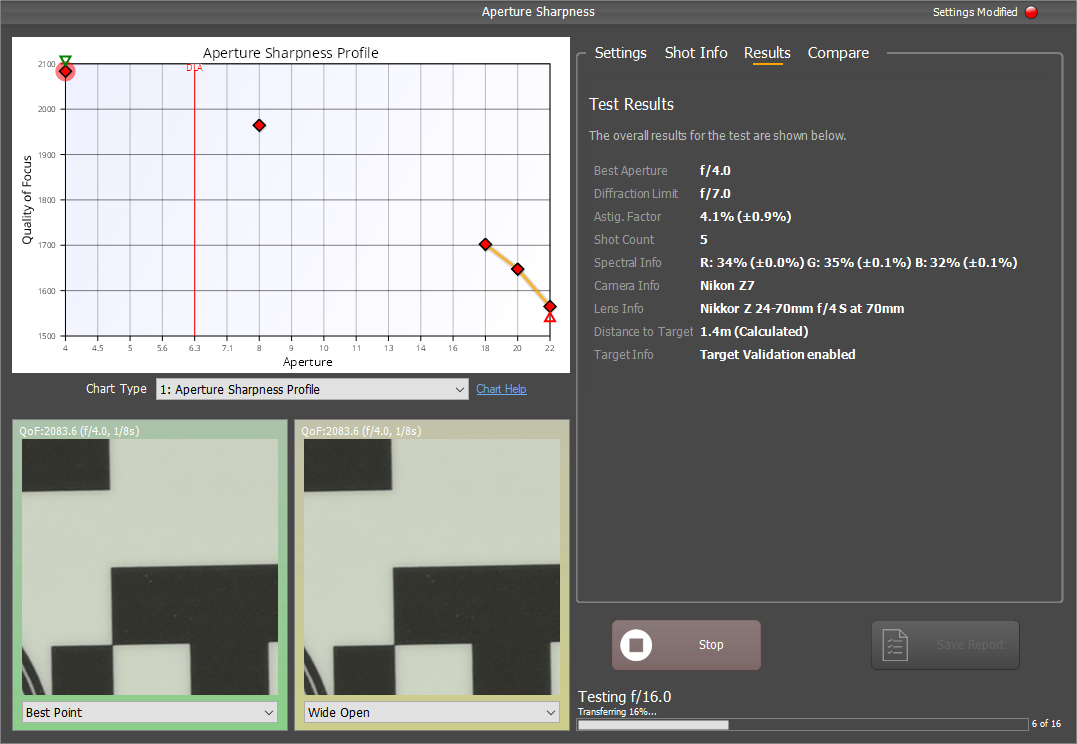
The test will start to run, taking a series of shots and measuring the results across the aperture range. The sequence of shots is chosen to get useful information quickly – for example within the first 3 shots you should be able to see the sharpness of the lens with the aperture wide open (f/4 above), the sharpness with it fully stopped down (f/22 above) and also see any FoCal Comparison Data overlays if available.
You can interact with the charts and crop windows as the test runs, but the information in the Results panel may not be accurate until the test is finished.
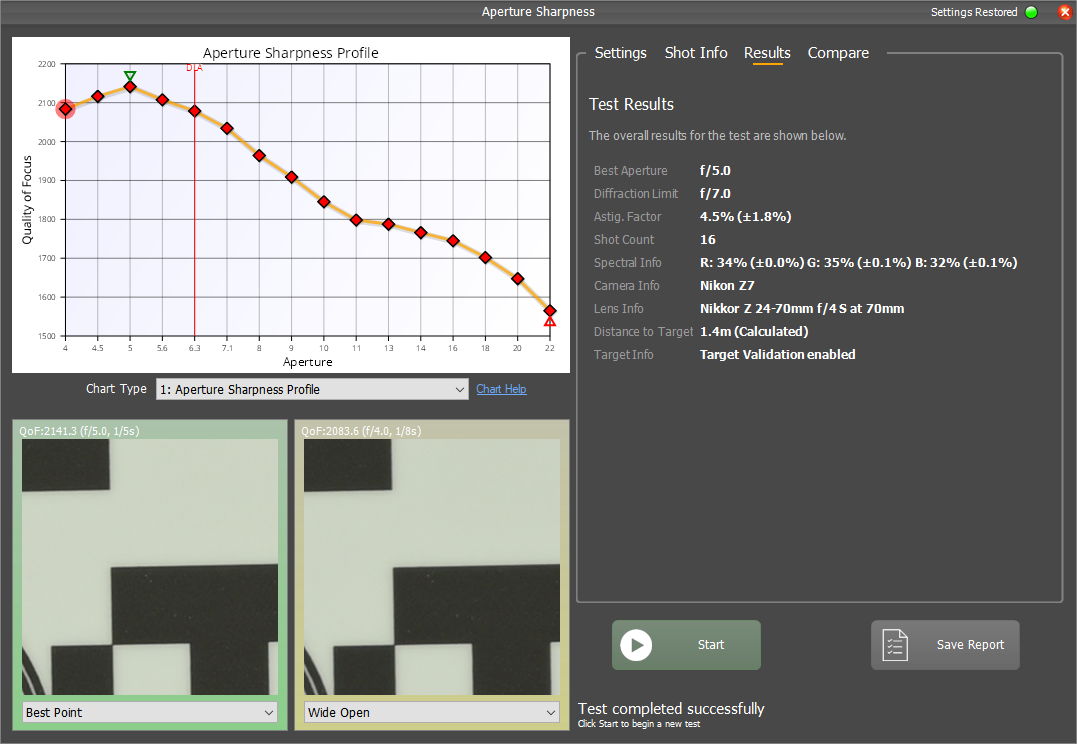
Once the test is complete, you can save a PDF report to capture all the information.
Further Details
Charts
The Aperture Sharpness test offers the following charts (click a link for detailed information):
Lens Profile – Aperture Sharpness
Astigmatism Factor – Aperture Sharpness
Red-Blue Ratio – Aperture Sharpness
Comparison Data Difference – Aperture Sharpness
Image Motion – Aperture Sharpness