Dust Analysis
The FoCal Dust Analysis test shows you detailed information about the cleanliness of your sensor, as well as detection of any potential hot pixels.
Opening the Dust Analysis Test
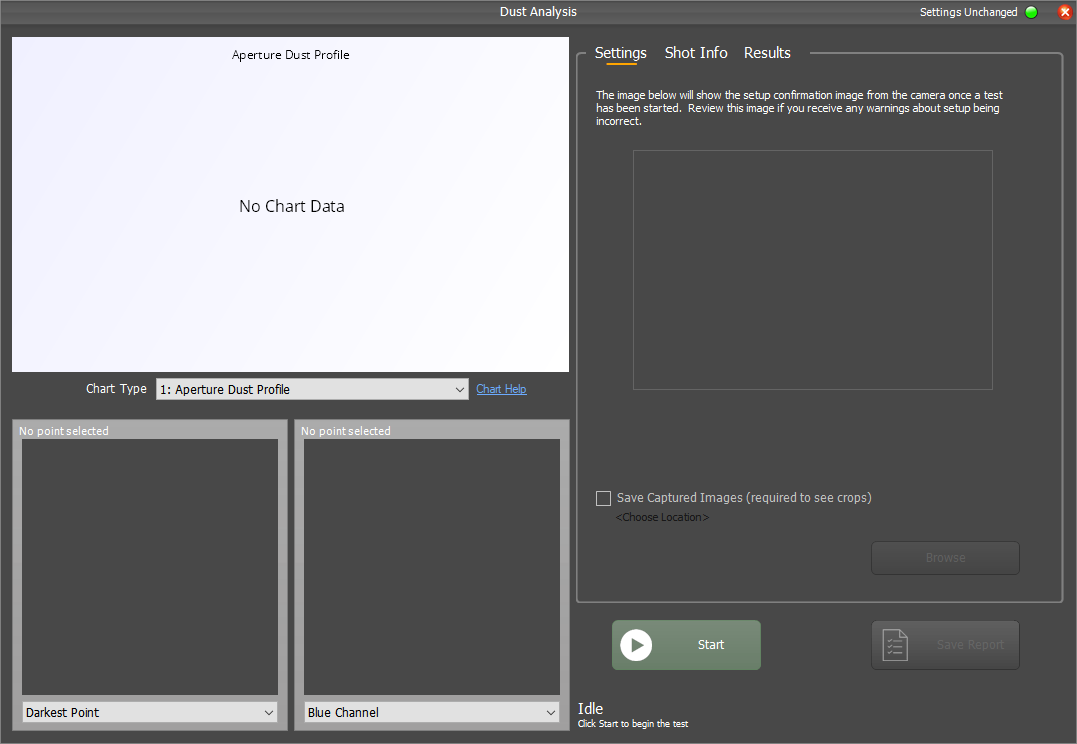
From the main window, choose Analysis > Dust Analysis to open the test window. You’ll see a window that looks similar to this:
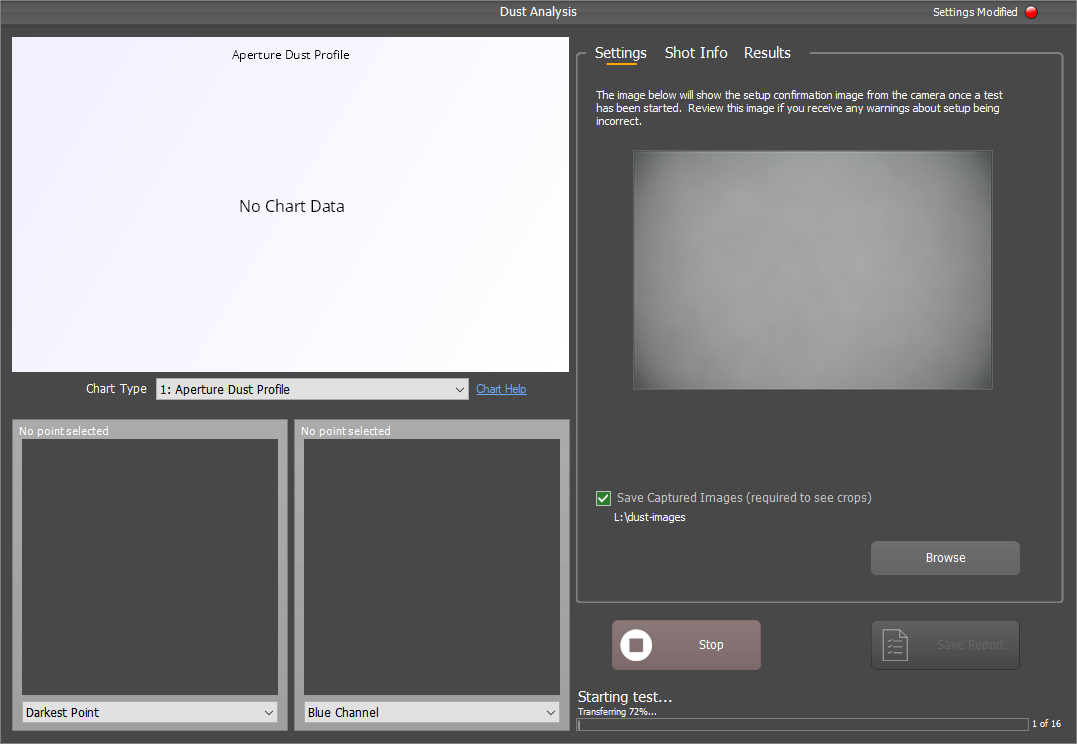
Save Captured Images
In order to be able to see the spots on your sensor, it’s important that FoCal can save the images captured during this test. You can run the test without any image saving, but you won’t be able to view any of the sensor crops if this option is not enabled.
Click the Save Captured Images box and choose a folder in which to save the captured images. This only needs to be done once – the next time you run the test it will remember your settings.
Setup for the Dust Analysis Test
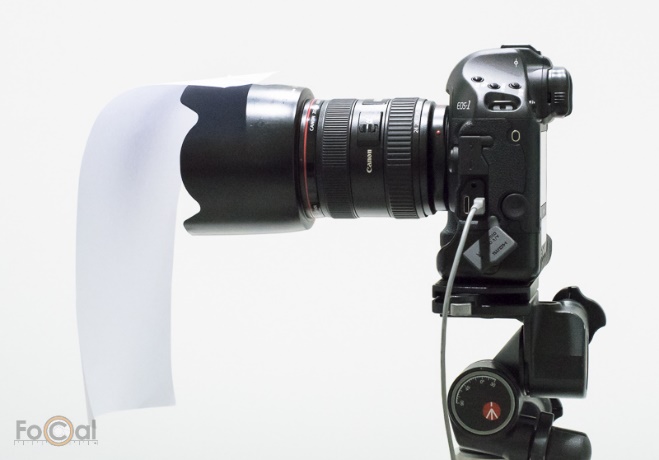
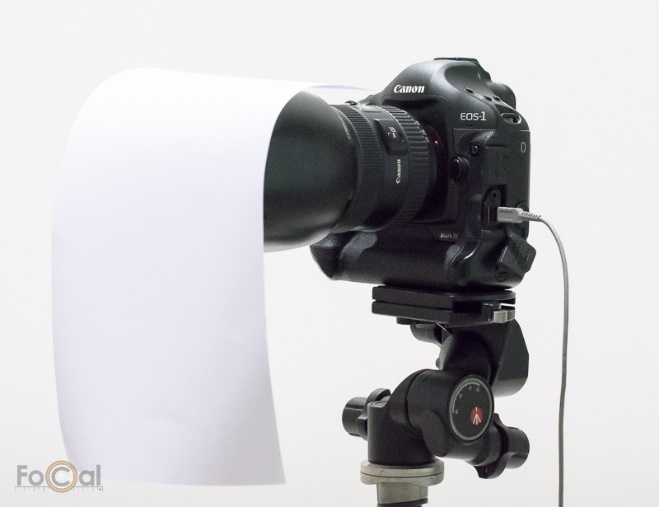
The Dust Analysis Test is different to all other tests in that it requires a blank image to be captured so it can detect dust spots that are on the sensor. The simplest way to achieve this is to use some adhesive putty (e.g. Blu-Tack) to attach a piece of un-creased blank paper to the lens hood or top of the camera. This piece of paper should hang down in front of the lens as shown below:
Don’t’ worry if you’re not sure if you’ve done this right - the Dust Analysis test will first off check that the image is blank and appropriate for analysing and warn you if there are any problems.
It’s a good idea to make sure you run this test in good lighting conditions. Not only will this speed up the test, but if the light is too dark then information may not be accurately obtained at very small apertures.
Running the Dust Analysis Test
With the lens covered and a folder chosen to save the images (both described above), hit the Start button to begin the test.
FoCal will first check that the lens cover is appropriate, the lighting level is sufficient and the camera is configured correctly. You will be warned if there are any issues.
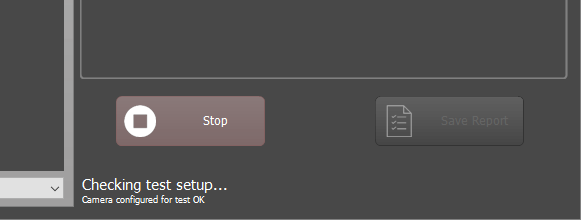
You can switch to the Settings panel and review the captured image if there are any warning shown. The image below is suitable for dust analysis to continue (despite the considerable vignetting!):
The test will start at the narrowest aperture and take shots through the aperture range.
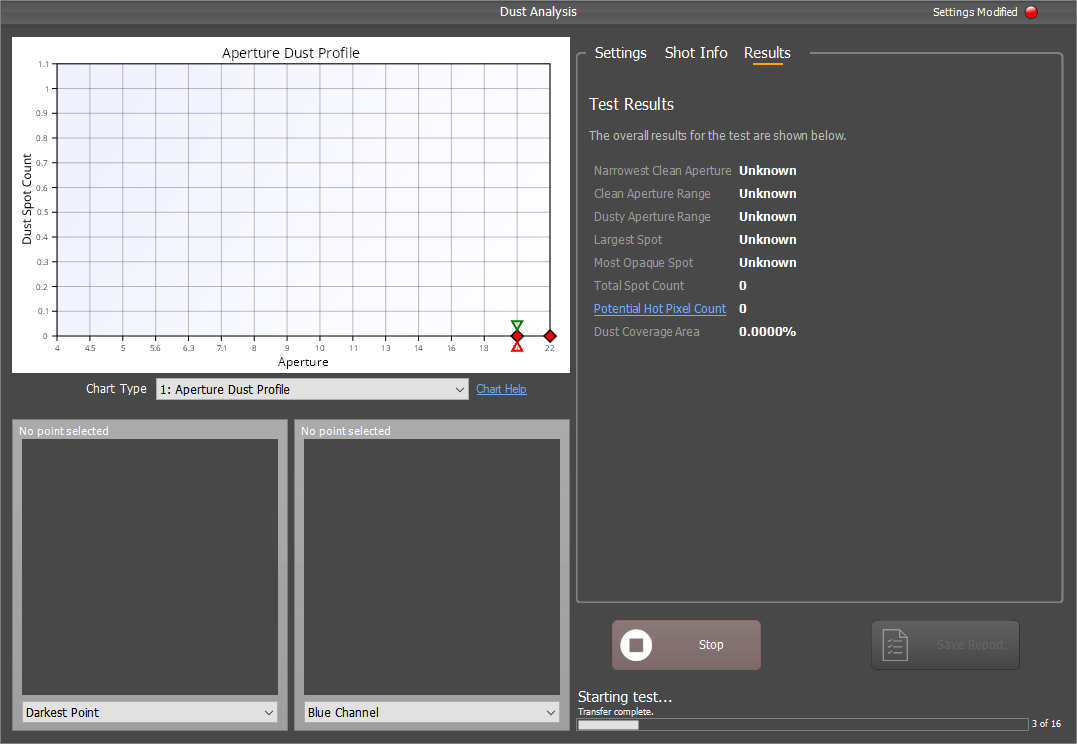
In order to accurately display determine real dust spots rather than image artefacts, FoCal will check the incidence of spots across a number of apertures before having confidence that there really is a dust spot at this location. This means you won’t see any results for the first few shots, as shown below:
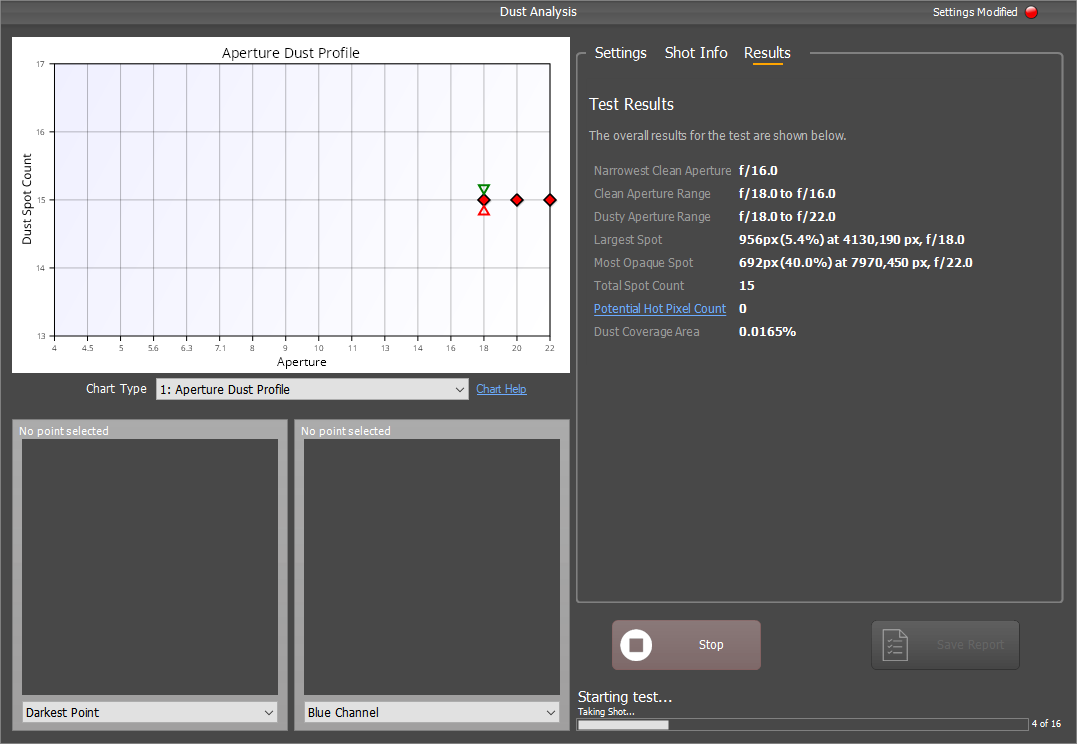
As the test proceeds, the spot count is refined so don’t panic if the number initially appears quite high:
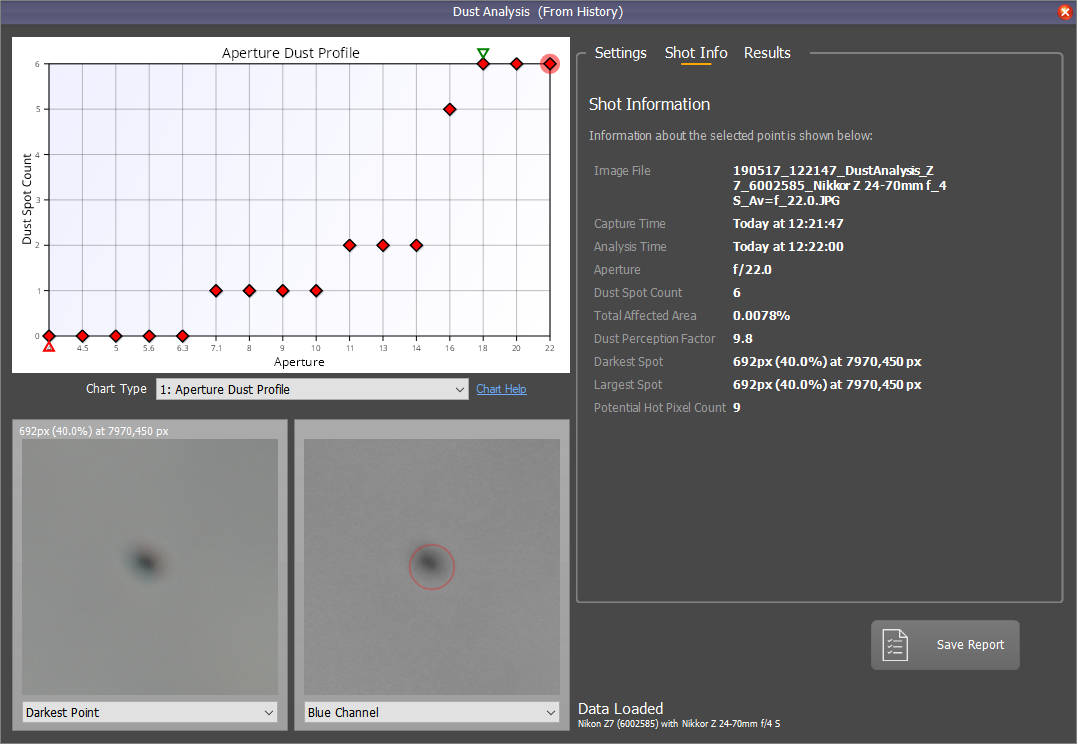
Once the test is complete, the numbers will accurately reflect the detected dust spots and hot pixels:
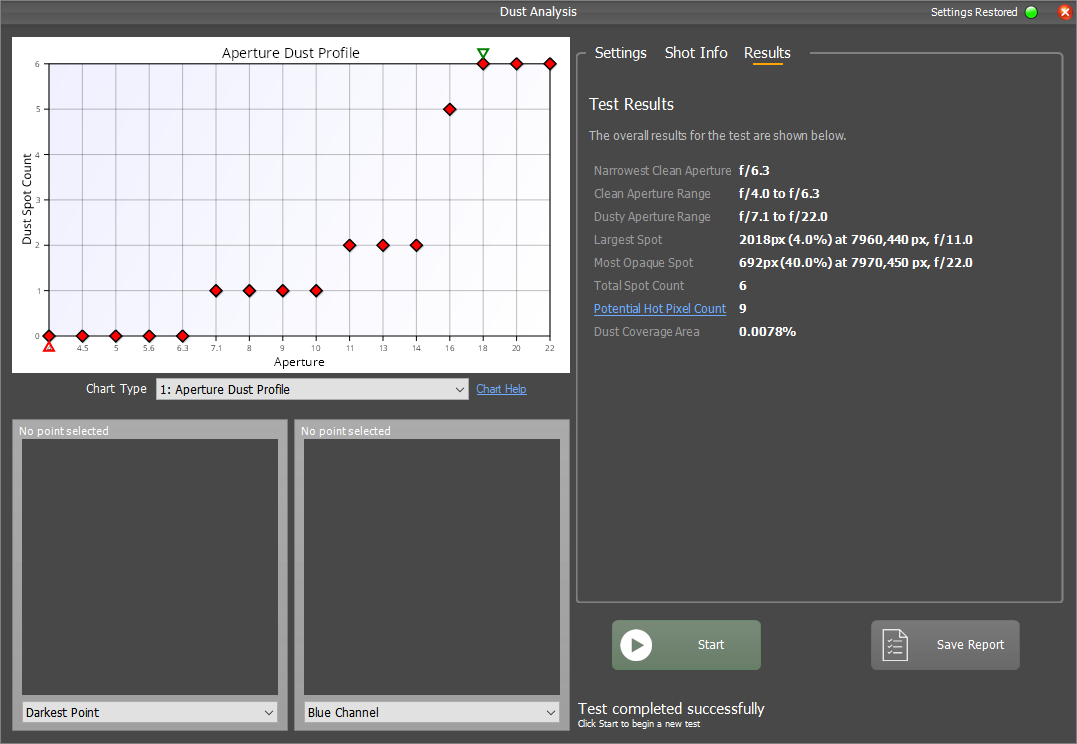
You can review the crops by clicking on points in the various charts. Some will direct you to the largest/darkest spots, other charts will let you pick specific spots to look at. See below for more information on the charts available.
Once the test is complete, you can save a PDF report to capture all the information.
Further Details
Charts
Dust Analysis offers the following charts (click a link for detailed information):