Target Setup Utility
Before a FoCal Test or Calibration is performed, it is important that everything is appropriately set up. Where the camera is pointing, the focal length of the lens, the lighting conditions, the camera settings and many other factors are important in getting the best results from your calibration.
The FoCal Target Setup utility is designed to check that everything is configured correctly for your testing, and to guide you through correcting any issues that may be present.
Basic Setup
Although the Target Setup utility can check and guide you through many issues you might have in getting everything ready for a test, it’s worth getting things are ready as possible before checking. Having your camera firmly attached to a sturdy tripod, the target fixed to a wall at the appropriate distance and well lit will get you started. The handy FoCal Setup Checklist shows you all the steps you need.
Opening the Target Setup utility
The Target Setup utility can be started from the main window (choose Tools > Target Setup) or from within most test windows with the Target Setup button.
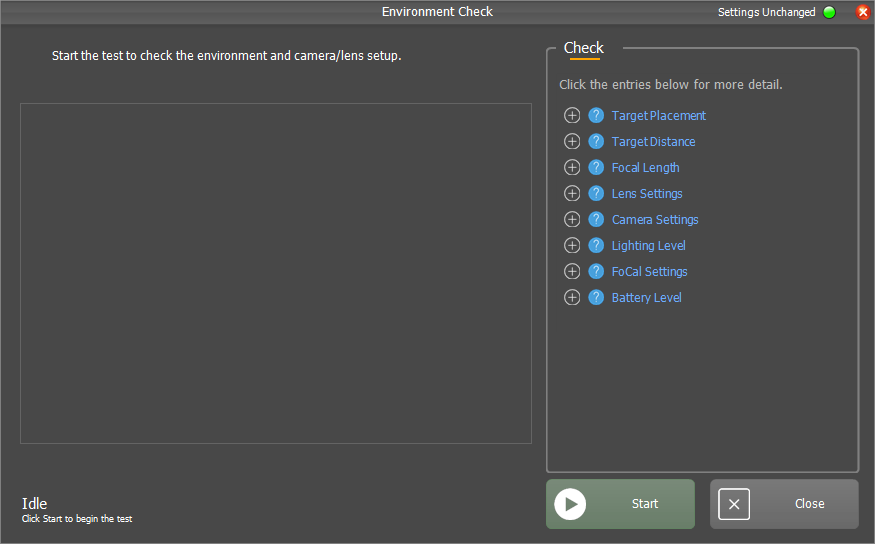
When you open the utility, you’ll see a window similar to this:
Checking your Setup
Hit the Start button and in a few seconds FoCal will get information from the camera and show you what it finds, along with a live view feed from the camera to help you with any adjustments you might need to make.
Here’s an example of the screen a few seconds after hitting the Start button:
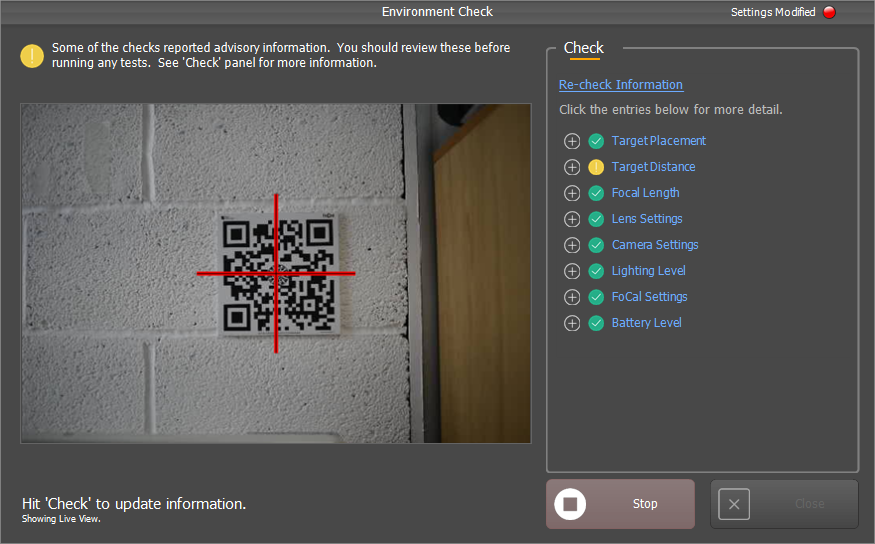
You can see the yellow advisory indicator on the right of the screen, showing that there is some information about the target distance.
The following states are shown:
| Warning | Condition that should be corrected before running tests |
| Advisory | Condition that is unusual and should be checked to ensure it is intended |
| Untested | Not all settings can be checked. Check these manually |
| OK | Checks passed without issue |


Clicking the Target Distance option in the Check table in the above example gives more information:
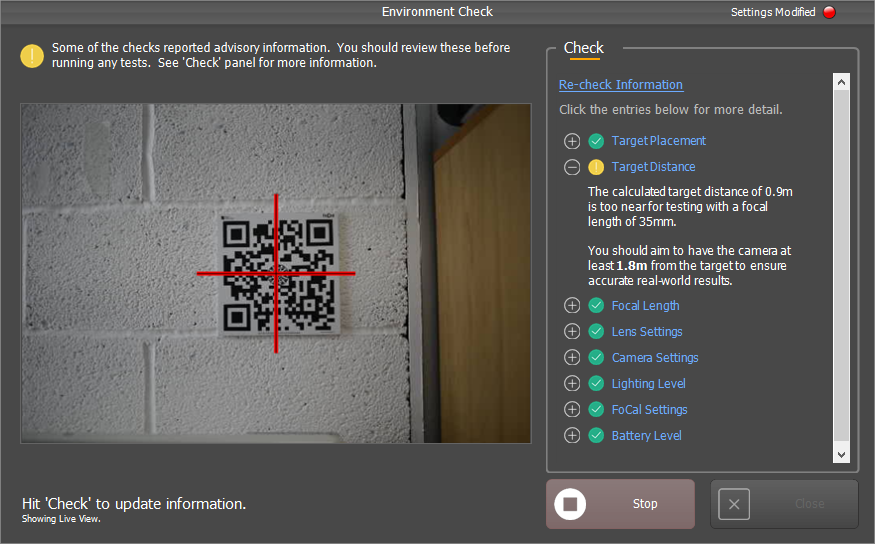
In this example, we can now see that the camera should be at least 1.8m from the target but is only around 0.9m, so it’s clear we have to move either the camera or target so this distance is increased.
Further Details
Further details on each entry in the Check panel are available here: