Stabilisation Test
The FoCal Stabilisation Test is designed to analyse the performance of your lens/camera stabilisation system.
For a brief overview, you can take a look at the Stabilisation Test video.
Opening Stabilisation Test
You can open the Stabilisation Test either from the Camera menu or from the Stabilisation Test card on the Camera page.
Setting Up
The Stabilisation Test is a bit different from most other FoCal tests in the following ways:
- You need to have a memory card in the camera
- The camera should be in M mode (Manual Auto Exposure)
- You need to use the Measure function to determine the lighting level
First, make sure you have a memory card in the camera that is capable of holding at least 25 full size JPEG images.
Note: For Canon cameras, opening the card door will switch the camera off and you will need to reconnect to FoCal once the card is inserted.
Switch the camera to M mode (Manual Auto Exposure) – if you forget, FoCal will tell you to make this change.
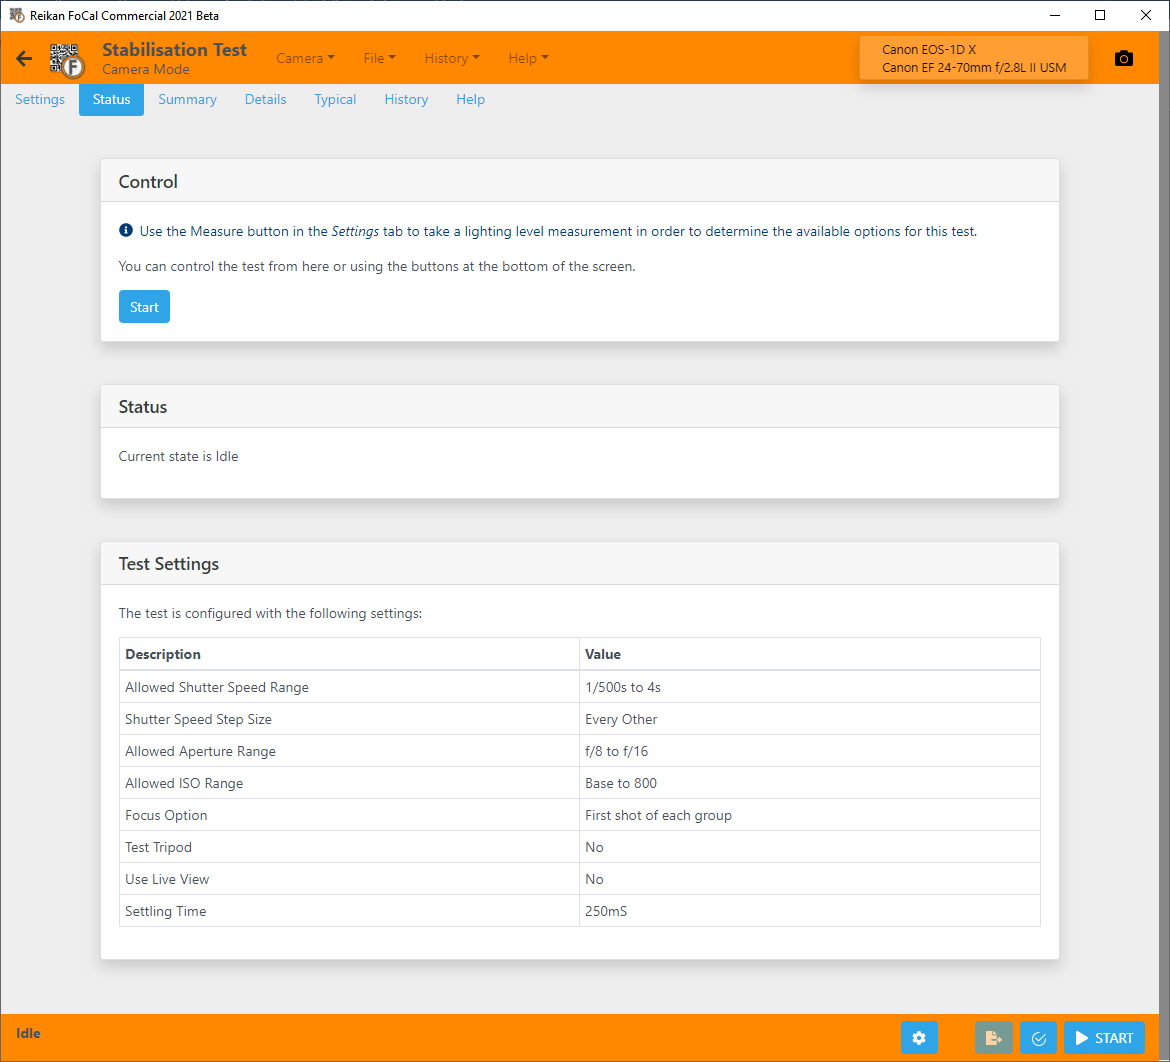
Switch to the Settings tab:
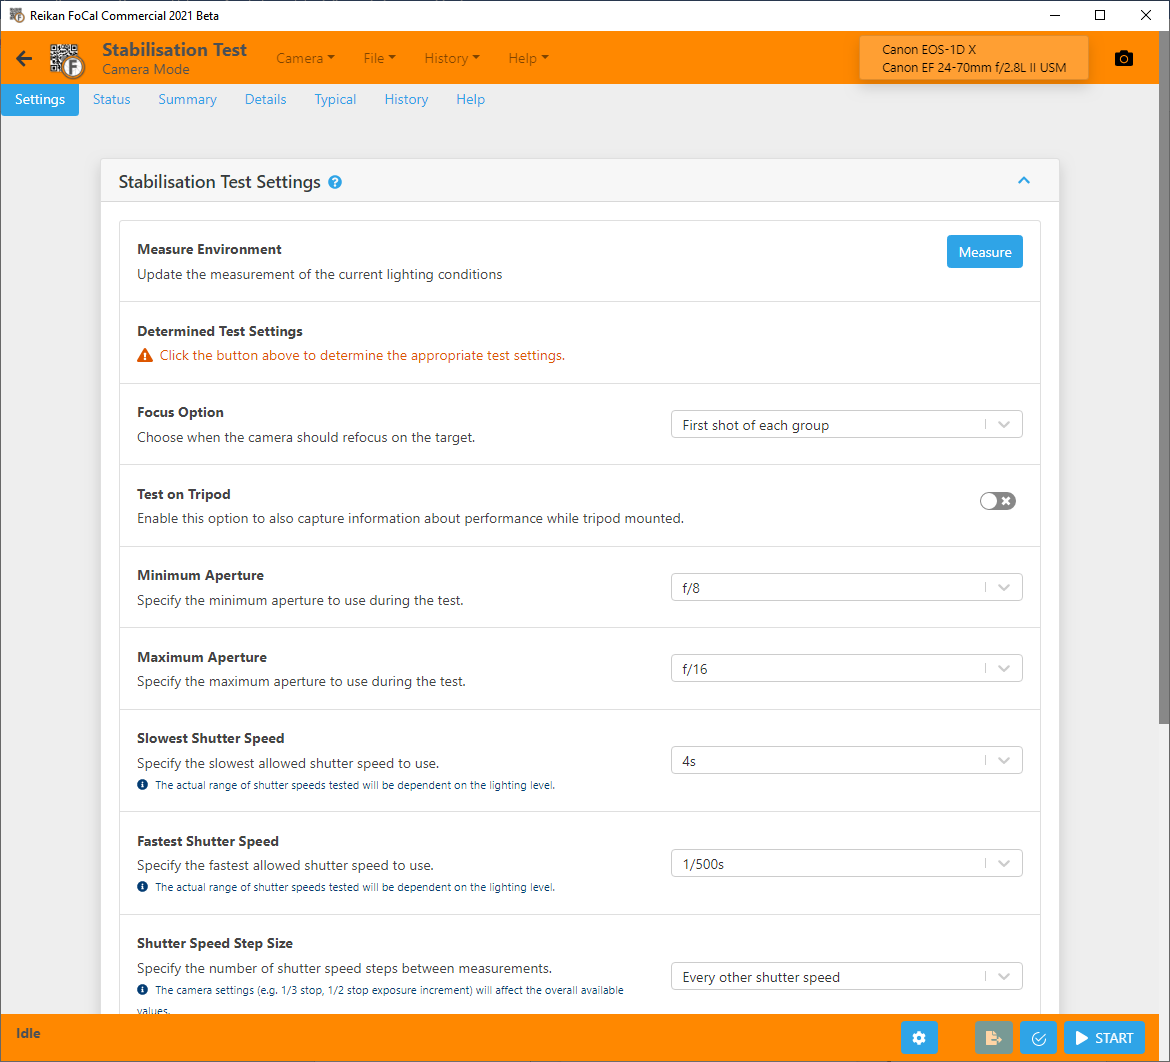
You now need to take a lighting measurement in order to determine the shutter speeds that will be available for the test. To do this, hit the Measure button.
The following message will be shown:
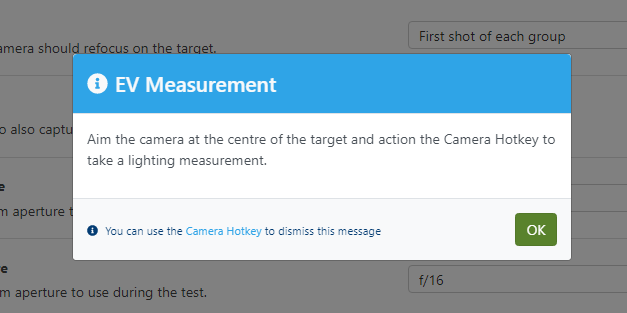
If you’re running the test with Test on Tripod enabled, you can mount the camera on a tripod now, otherwise just hand hold the camera. Look through the viewfinder or use the camera screen to position the centre focus point approximately over the centre of the target and then action the Camera Hotkey (usually just click the aperture or shutter speed dial one click), or hit the OK button on the message.
There may be a delay of a couple of seconds, then you should hear the pre-shot alert (beeping) and a shot will then be taken. The lighting level will be determined, and the list of shutter speeds to be tested (with the currently applied settings) will be shown:
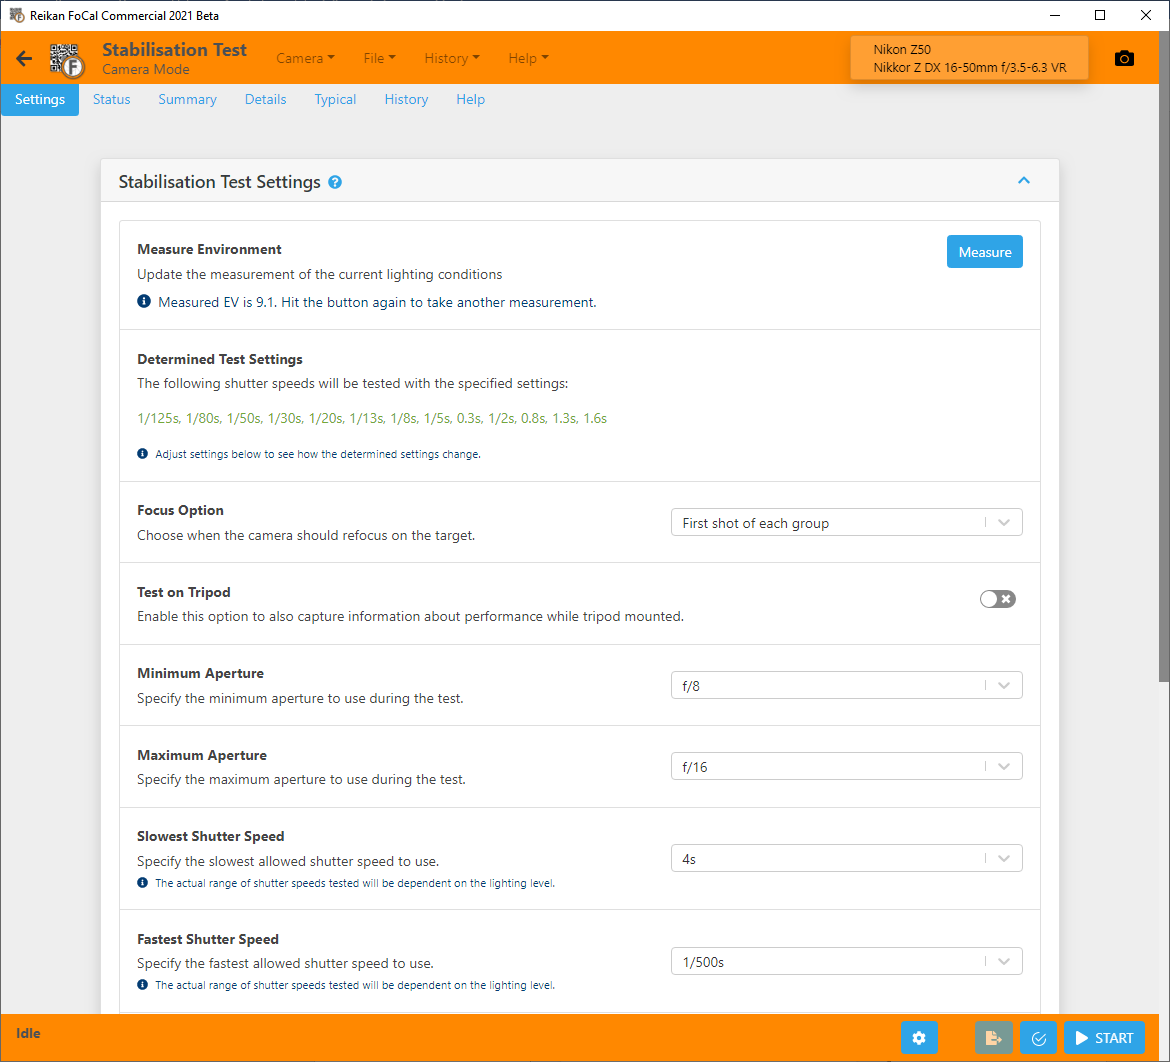
The above example is a pretty decent set of shutter speeds. Camera stabilisation systems tend to become useful from around 1/125s through to around 2s.
If the shutter speed range is not quite where you would like it to be, you can adjust as follows:
- Increasing the lighting on the target will move all available shutter speeds towards faster (shorter) shutter times. In the example above, increasing the lighting would give access to 1/200s, 1/250s, 1/500s etc, but you would be unable to shoot at 1.6s and instead have a slowest (longer) shutter time of maybe 0.8s, or 1/2s maximum. Note that if you change the lighting level, you will need to hit the Measure button again to update the available list.
- Likewise, decreasing the lighting level will shift the shutter speeds towards the slower (longer) times. Note that if you change the lighting level, you will need to hit the Measure button again to update the available list.
- Changing the minimum and maximum aperture will increase the available shutter speeds. We do not recommend using an aperture larger than f/8 (e.g. f/5.6, f/4 etc) as the depth of field becomes shallower and focus changes can pollute the data.
- Increasing the maximum ISO will also give more shutter speeds, but noisy images may not give a good representation of image quality and therefore cause erroneous results. Older cameras should probably not be used above 800, but new cameras could be used up to maybe 1600-3200.
Once you have a set of shutter speeds that you are happy with, you can start the test.
Running Stabilisation Test
To start the test, hit the Start button in the status tab or on the test footer bar.
If the Test on Tripod option is enabled, the first set of shots will be on a tripod. You will be instructed to mount the camera on the tripod and either enable or disable the stabilisation system as necessary.
To actually capture the group of shots, either action the camera hotkey or OK the message.
You will then be instructed to hand-hold the camera.
For hand holding, you should hold the camera as if you are going to shoot pictures normally. Hold the camera up to you eye and look through, trying to keep the centre focus point over the centre of the target as the test progresses.
Once in position, it’s easiest just to action the camera hotkey. There will be a delay of a second or so, then you will hear the pre-shot alert (beeps) and a batch of shots will be taken. When the group is complete, you will hear a chime from the computer to signify that the group has been captured.
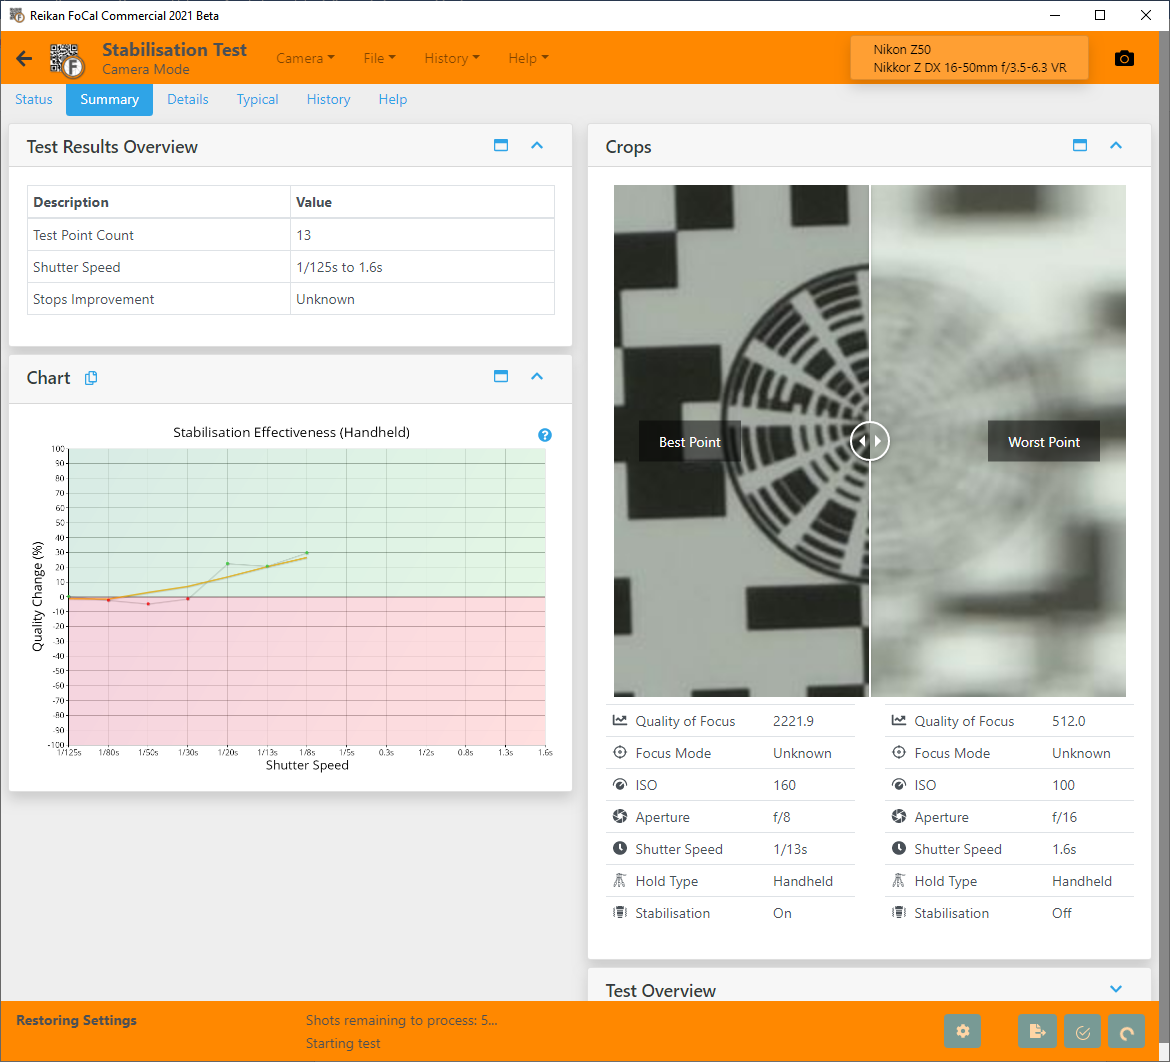
The Stabilisation Test captures and processes images simultaneously, so it may take a little time for all images to be transferred and processed and for the results to be displayed:
Reviewing the Results
The Summary page shows basic results for the Stabilisation Test.
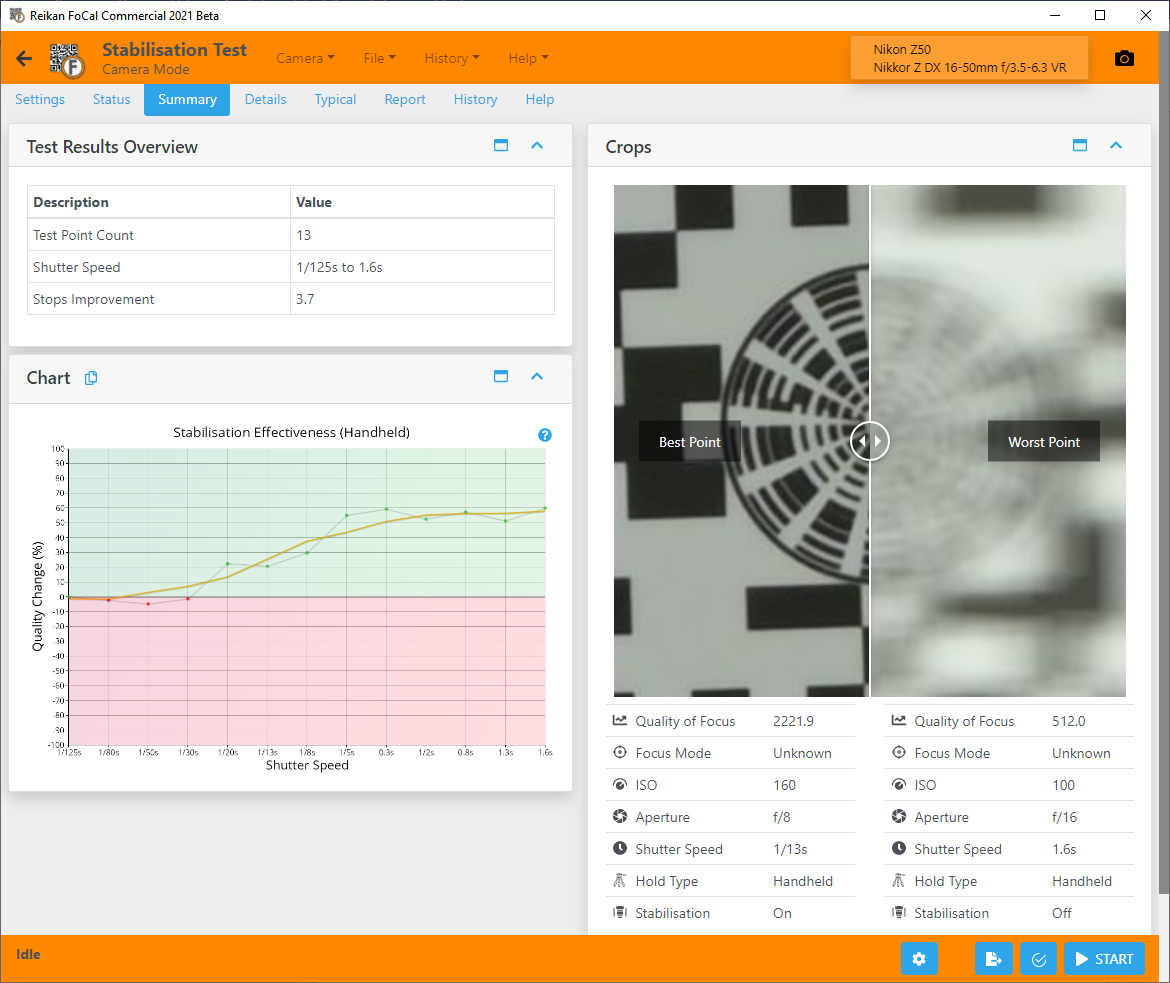
Test Results Overview
The Test Results Overview card shows a few essential test results, e.g. tested shutter speed range and, if available, the stops improvement.
Chart
The Chart card shows the Handheld Stabilisation Effectiveness chart, which gives a clear view of when and how the quality improves with stabilisation active.
Crops
The Crops card shows the comparison between the and worst images captured.
You can slide the bar in the crop images left/right to better review the comparison. You can also make the crop card large with the maximise button on the top of the card (this applies to any card which have this button).
Some measurement values are indicated below each side of the crops.
Test Overview
The Test Overview card gives basic information about the test – for example which camera and lens were used.
Interpreting the Results
The Stabilisation Test gives a huge amount of information – please see the Details – Stabilisation Test for further information.
Further Details
Settings Tab
Further information about the settings for this test is available at Settings – Stabilisation Test.
Details Tab
The Details tab has the following information
- A selection of charts to review different aspects of the measurements – including lens profile, astigmatism/colour information and information about movements of the image as the lens is operated
- Detailed results information
- A list of all shots along with general information
- Detailed information about the capture settings for any selected shot
- A selection of crop images, including the analysed region of any selected point.
See Details – Stabilisation Test for more information.
Charts
Stabilisation Test offers the following charts (click a link for detailed information):
Handheld Effectiveness – Stabilisation Test
Tripod Effectiveness – Stabilisation Test
Tripod/Handheld Difference – Stabilisation Test
H/V Ratio – Stabilisation Test
Absolute H/V Ratio – Stabilisation Test
Absolute H/V Ratio Difference – Stabilisation Test
Stops Improvement – Stabilisation Test
Image Motion – Stabilisation Test
Image Motion 2D – Stabilisation Test
Typical Tab
The Comparison tab will show you how your camera/lens combination compares to other users of the same equipment.
See Typical Tab for more information.
Report Tab
The Report tab allows you to save a PDF report summary of your test results.
You can also choose to save a CSV file containing the numerical results information for further analysis.
See Report Tab for more information.
History Tab
The History tab shows previous tests run with the same camera/lens combination, and a basic summary of the results.
Double-clicking on an entry will open the details in History mode so you can review the test results from previous test easily and see how your equipment has changed.
See History Tab for more information
Help Tab
The Help tab provides an overview of the test purpose and operation, and link to the online help information.